

Really Good S’mores
Really Good S’mores
Made from scratch, these S'mores are allergy-friendly and easy to throw together (even with a camp kitchen)

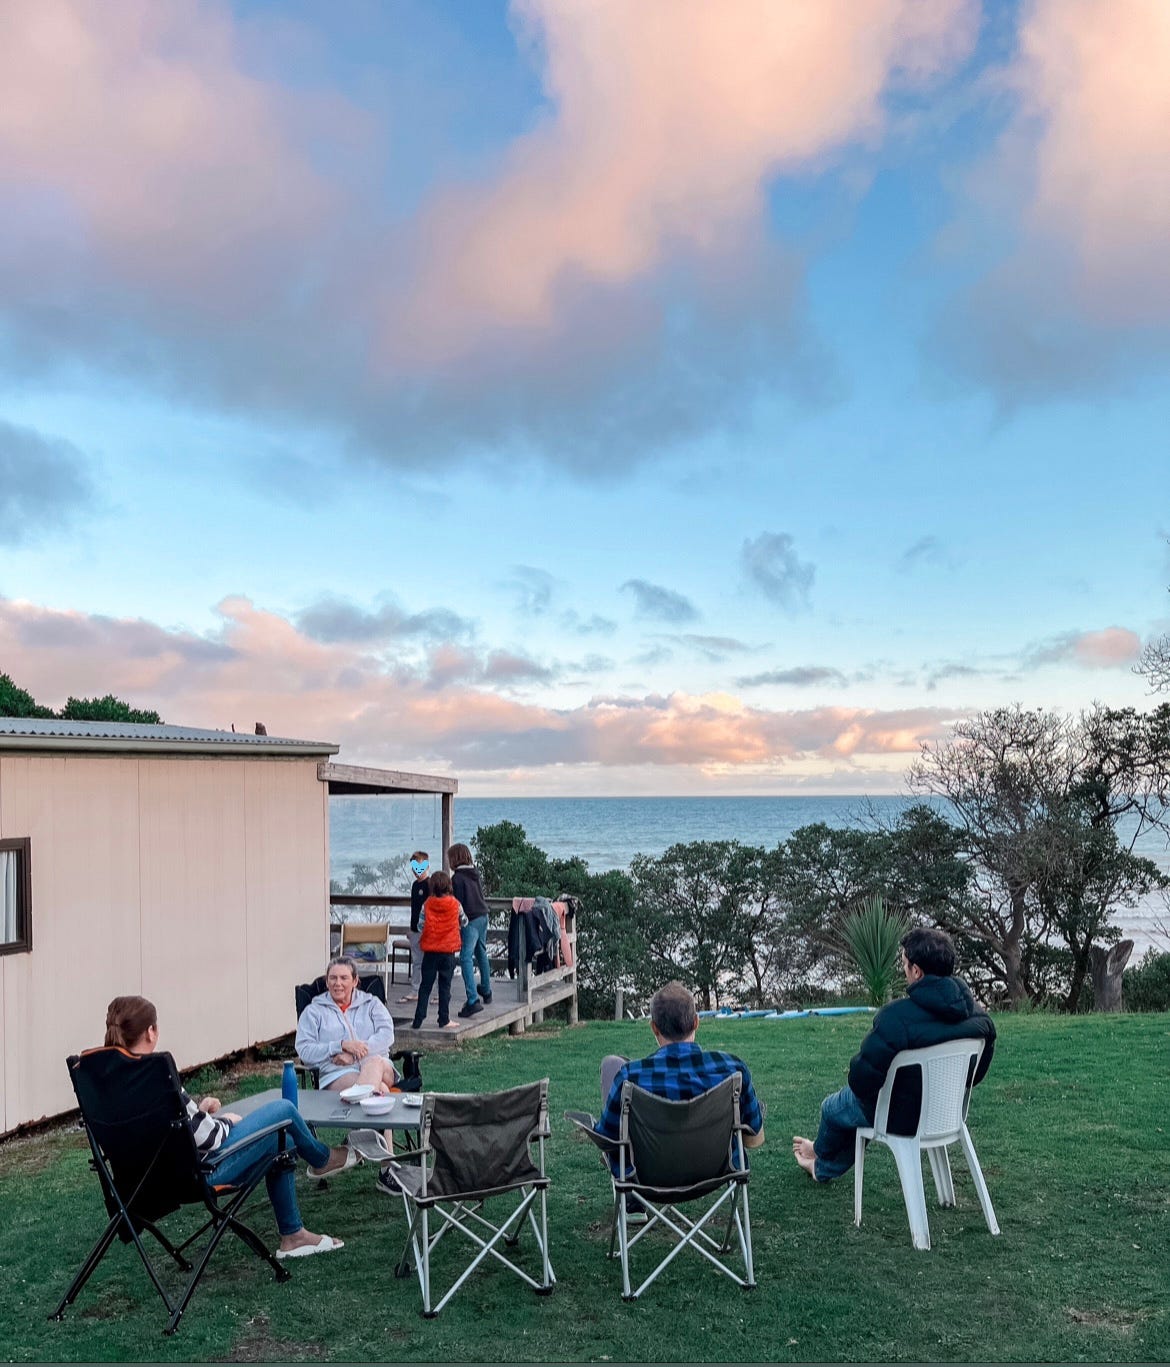
Starting with an apology, this post is a day late. Camping over the Easter Break entailed poor phone reception, and no internet coverage. So while I have baked, burned, swam and taken notes, I haven’t been able to upload this post until now.
So here we are; my first hot bath and hair wash in over a week, and I’m typing out our S’mores recipe for you.
Why S’mores? Well my kids often complain that we don’t get to eat enough ‘normal food’ like other families. With a camping trip on the horizon, I knew I’d have to give S’mores a go, and develop a recipe that was gluten-free and allergy-friendly too.
Starting with the marshmallows -
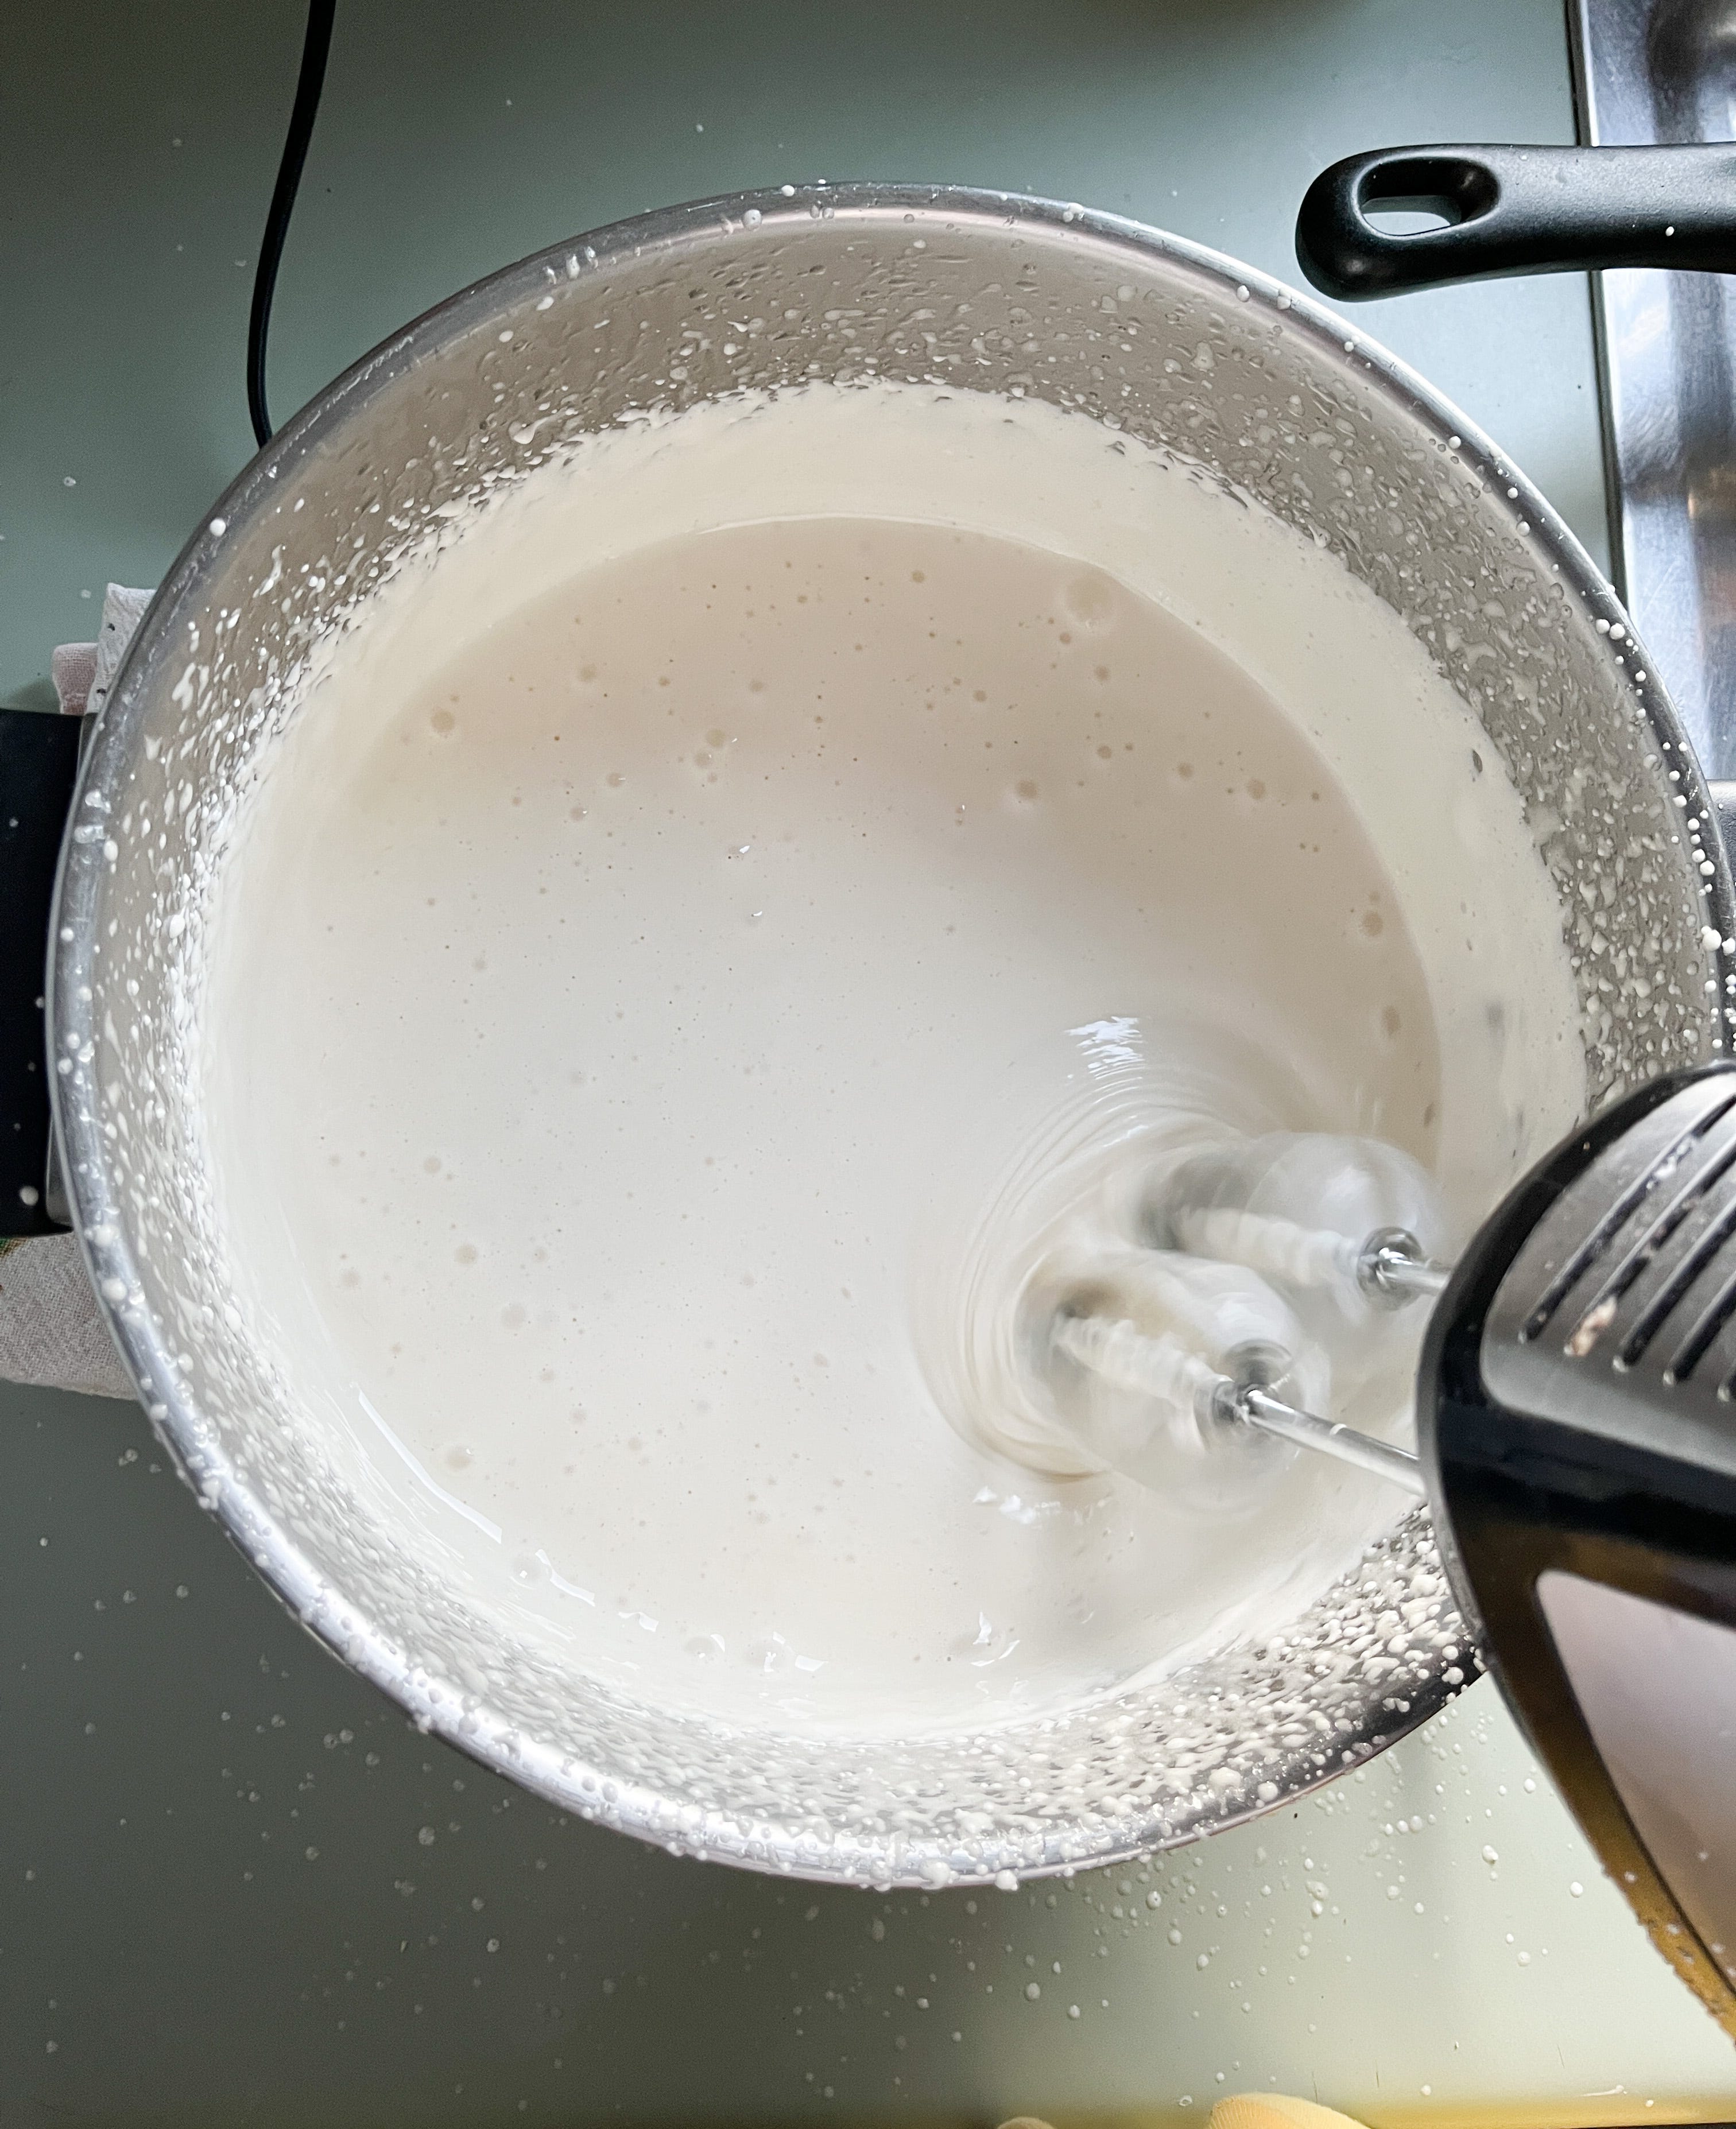
I was able to tweak my gut-healthy marshmallow recipe, so that it was simplified with less ingredients and camper-friendly options. If you haven’t tried homemade marshmallows before, please - give this gluten-free, allergy-friendly recipe a whirl. If you are not roasting them over an open fire-pit, you can also add them to your morning cocoa or coffee as a non-dairy creamer.
If you are giving this a try over the holidays, here are some tips -
Find my marshmallow recipe here. I packed only the gelatin and honey, plus a set of beaters for the trip. When I got to camp, I improvised with a soup pot and meat tray to assemble it together.
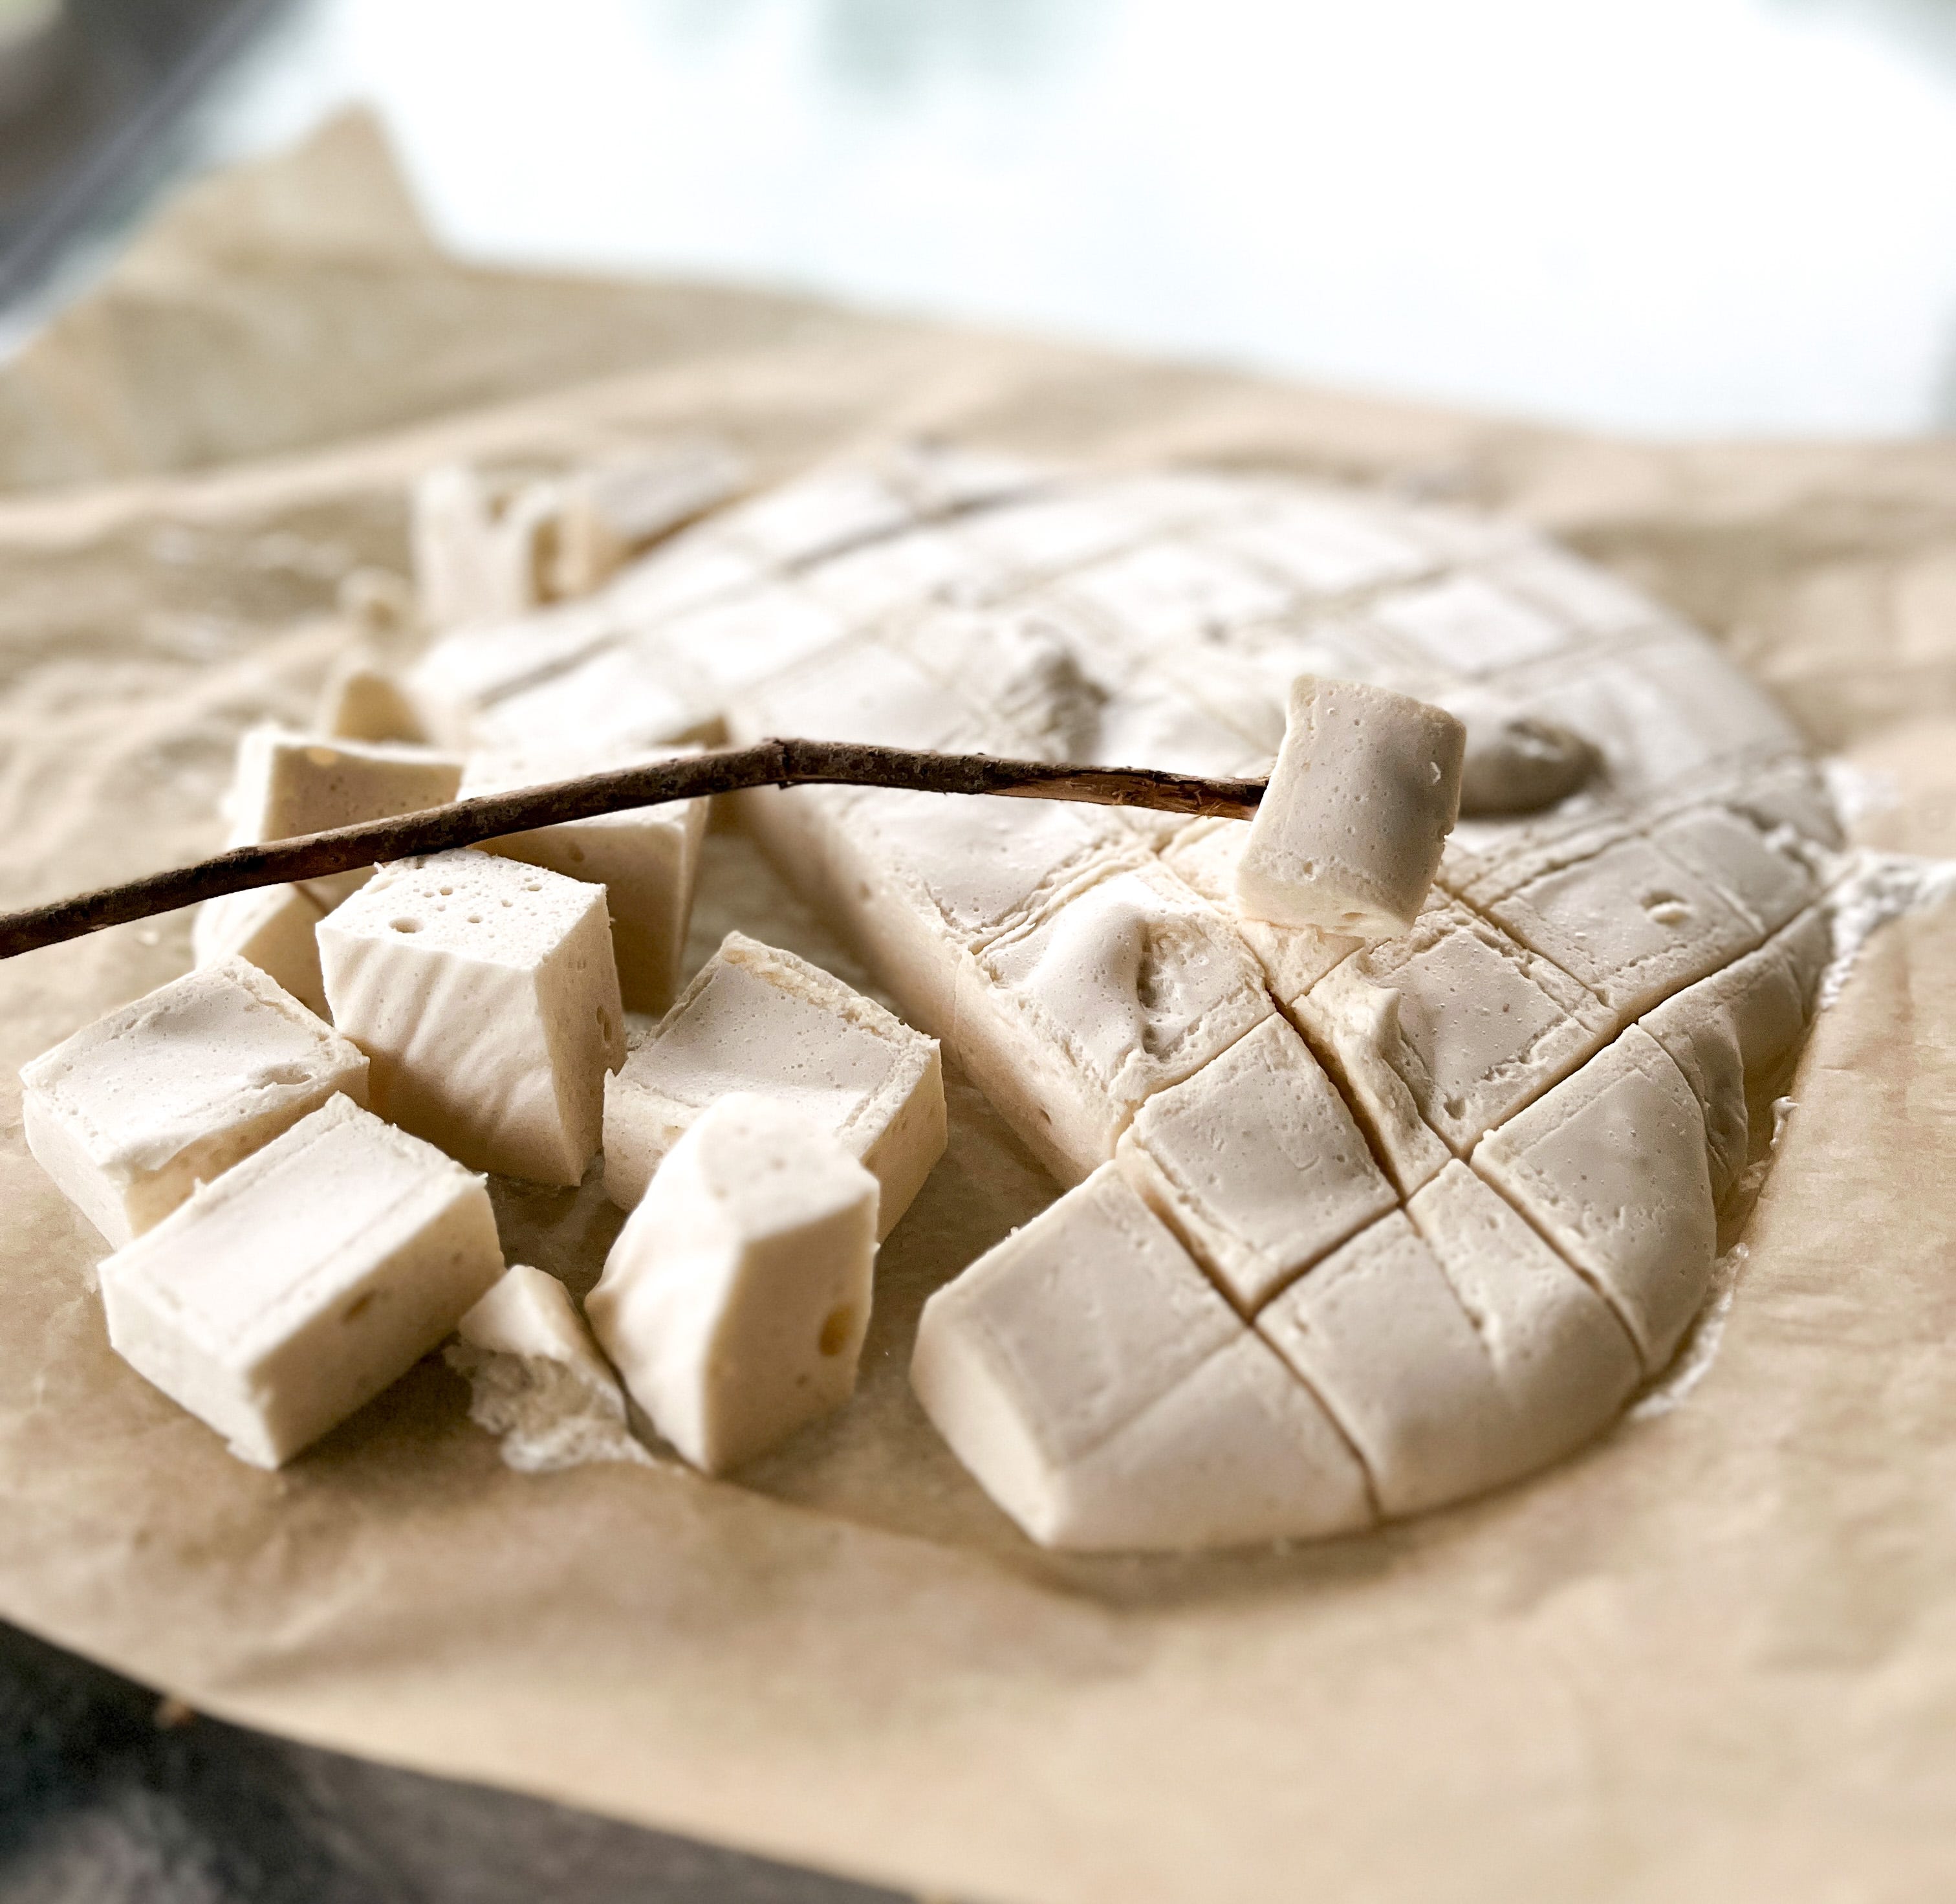
While camping, make the marshmallows the DAY BEFORE you want to use them. Leave them out overnight at room temperature and let them become a bit rubbery and dry. This will stop them sticking together and make them easier to slice.
Keep in mind, these homemade marshmallows do melt more easily over an open fire compared to commercial types.. So be on guard, short dashes under the flame work best, but leave them too long and they’ll melt into the marshmallow man from Ghostbusters.
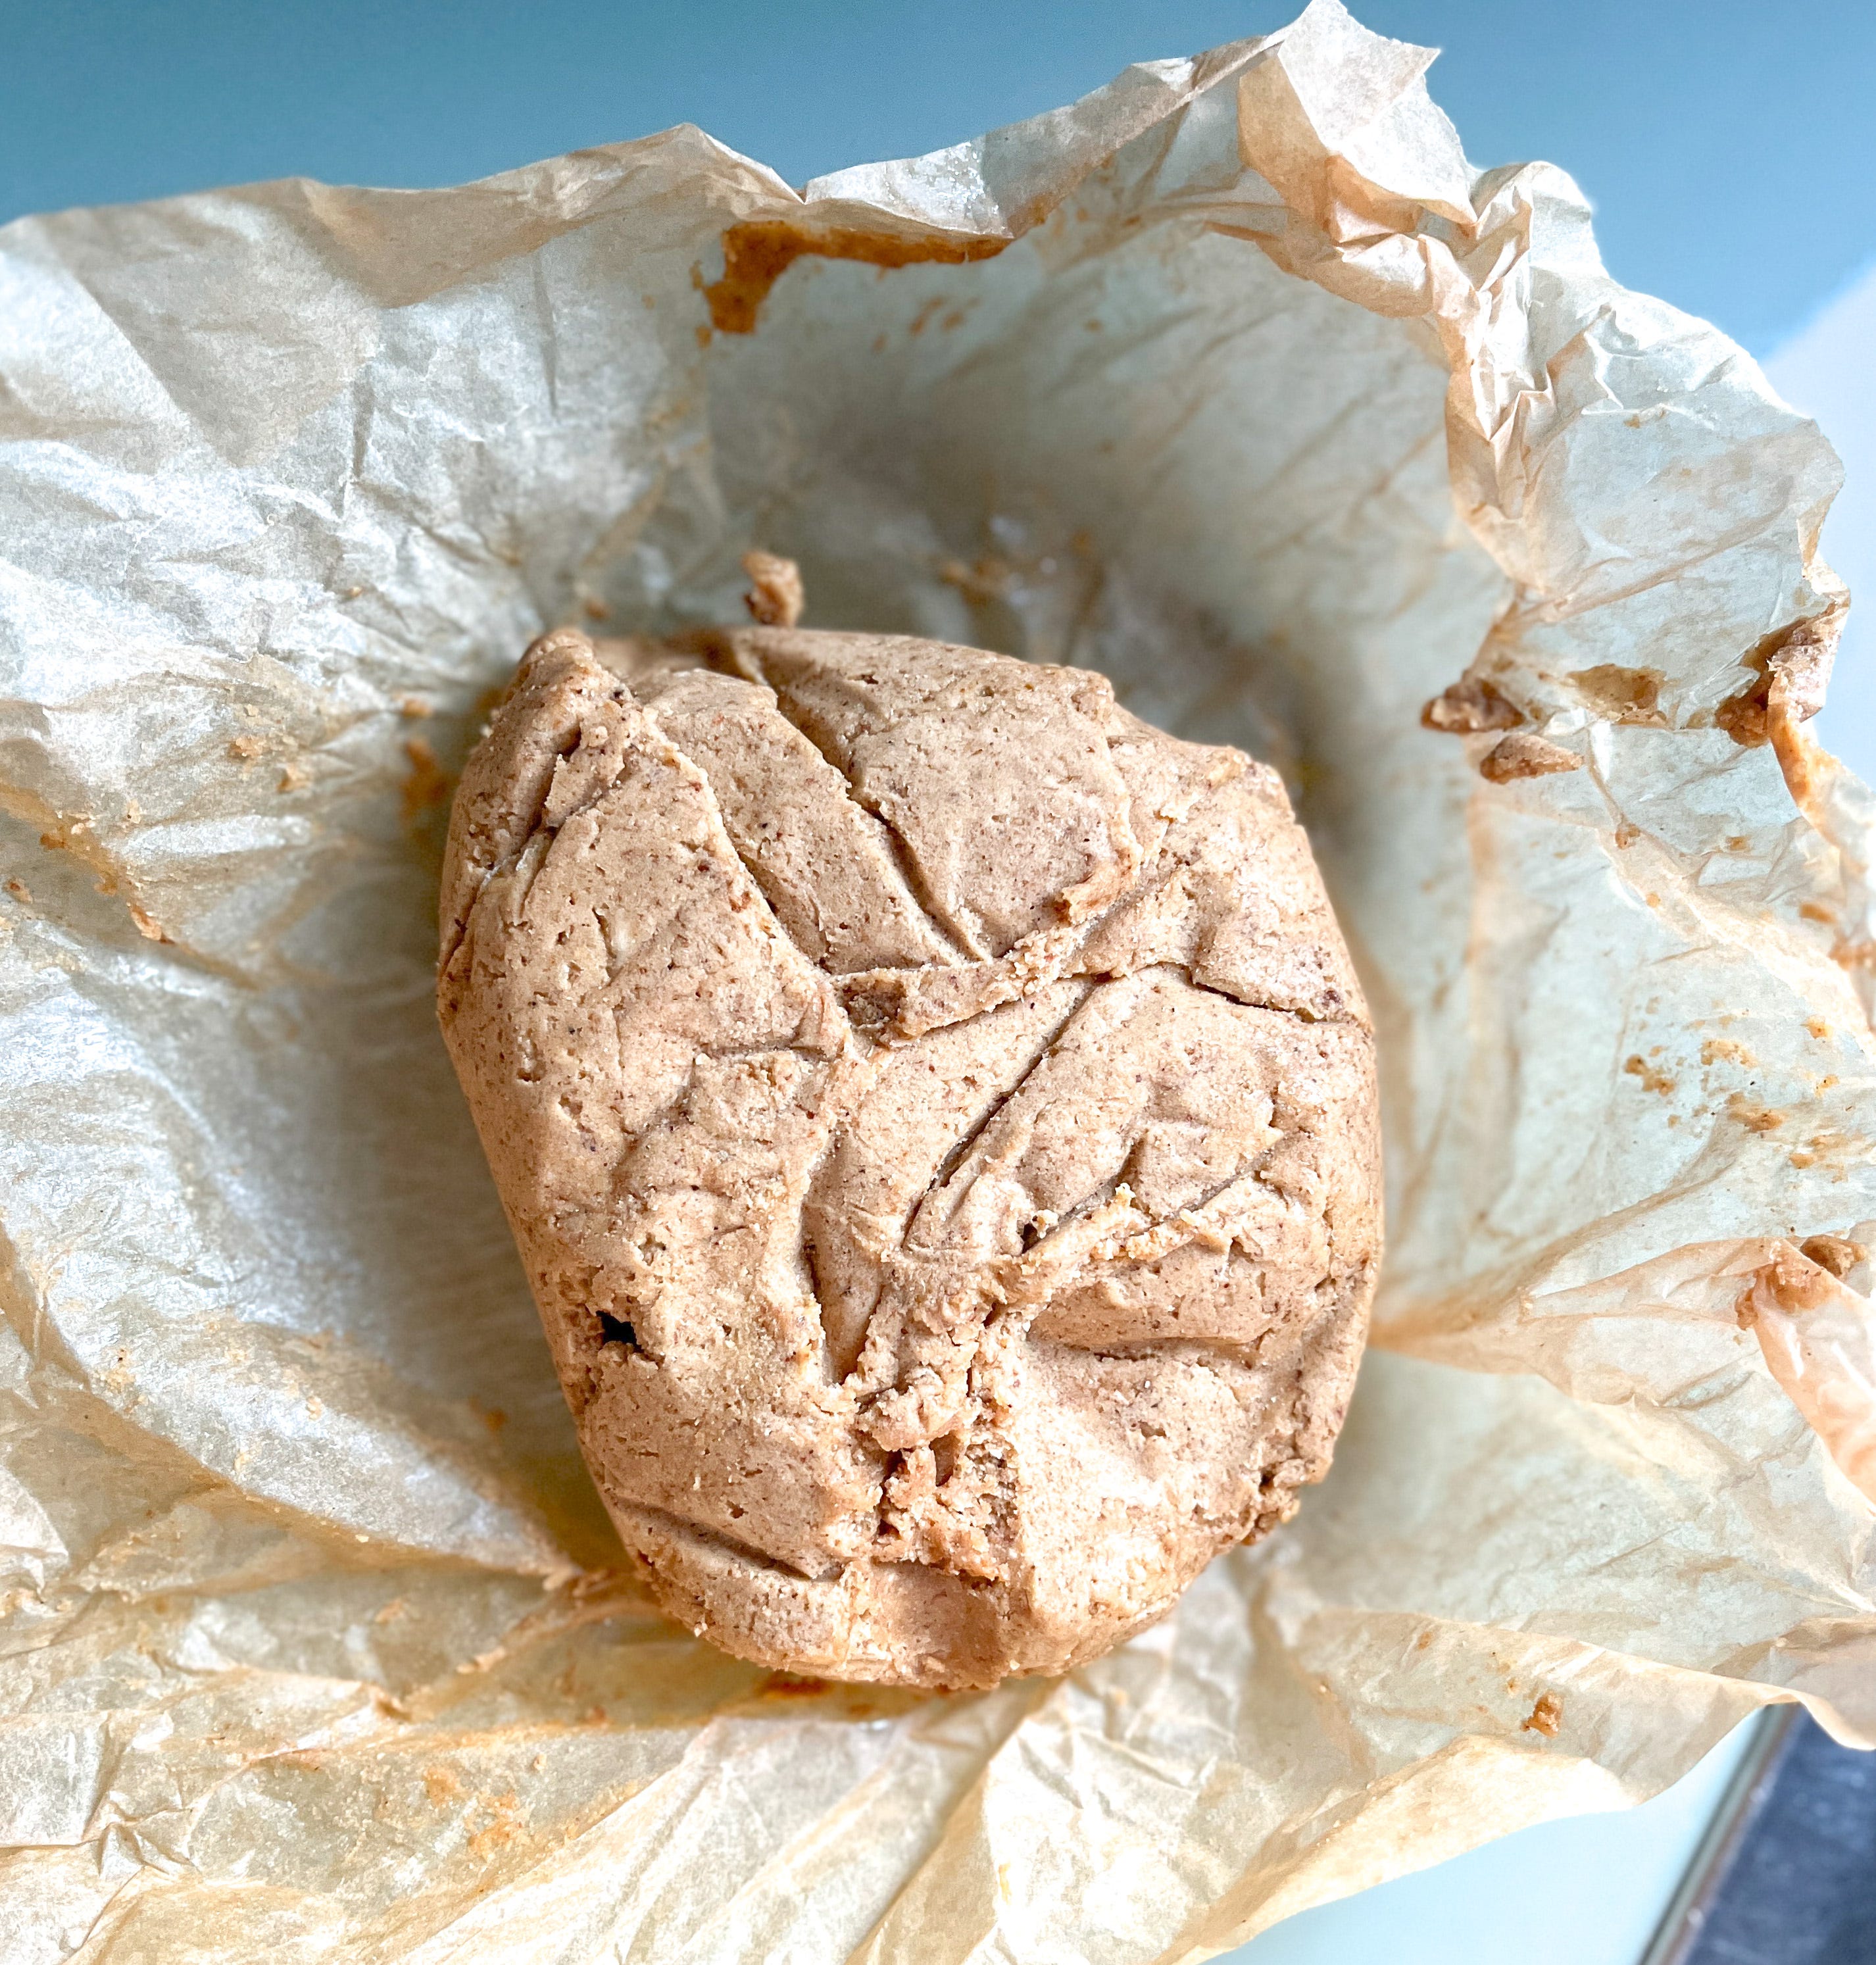
The Graham Crackers took a bit more fiddling, I prepared the base in advance before we left (note- this was done with our car fully packed with camping gear and the kids, restlessly waiting / complaining while I flapped around in the kitchen. I was grateful it took only about 3 minutes to throw together, making the process relatively painless).
I wrapped the mixture in baking paper, stuffed it in our backpack for the car and then stored it in the camp fridge until we needed it. To roll it out, I didn’t have a rolling pin or a pizza cutter (which would have been ideal), but I improvised with a small plastic cutting board and the cover case of the ipad (perhaps the new cooking-hack-every-camper-needs-to-know).
Recipe: Graham Crackers (gluten-free & paleo-friendly)
The Graham Cracker base is made with a combination of tigernut flour and tapioca starch. The tigernut flour worked well; it has a soft, gritty texture and a good crumbly finish. If you haven’t cooked with it before, tigernut flour is a starchy powder made from root vegetables and works well as a grain alternative. It is gluten-free and nut-free (don’t be deceived by the name) and a popular choice for low-carb and paleo-friendly diets. Admittedly, it’s not the easiest grain-alternative to source from supermarkets and food stores, but you can usually find it at organic stores or plastic-free bulk food outlets.
What You Will Need -
1 1/2 cups tigernut flour
5 tablespoons tapioca flour
5 1/2 tablespoons, unsalted butter at room temperature
1/2 cup coconut sugar
3 tablespoons coconut flour
1/2 teaspoon baking powder
1/2 teaspoon cinnamon
1/8 teaspoon sea salt
1 egg
Prepare the recipe-
Add the butter, sugar and egg to the food processor at a high speed. Mix well to form a smooth paste. Next, add the remaining ingredients, one at a time. Blend until smooth. Scoop out onto a large sheet of baking paper and wrap well with the baking paper so that it is airtight.
Place the mixture in the refrigerator for a minimum of 2 hours. If you are travelling, it can last a good few days in the fridge.
Preheat the oven to 200 degrees celcius. Place the mixture between two sheets of baking paper and roll it out flat so that it’s roughly 2cm think (a rolling pin is ideal for this job, but if you don’t have one, try using a small cutting board to squash it flat, or an ipad case (if you are desperate)).
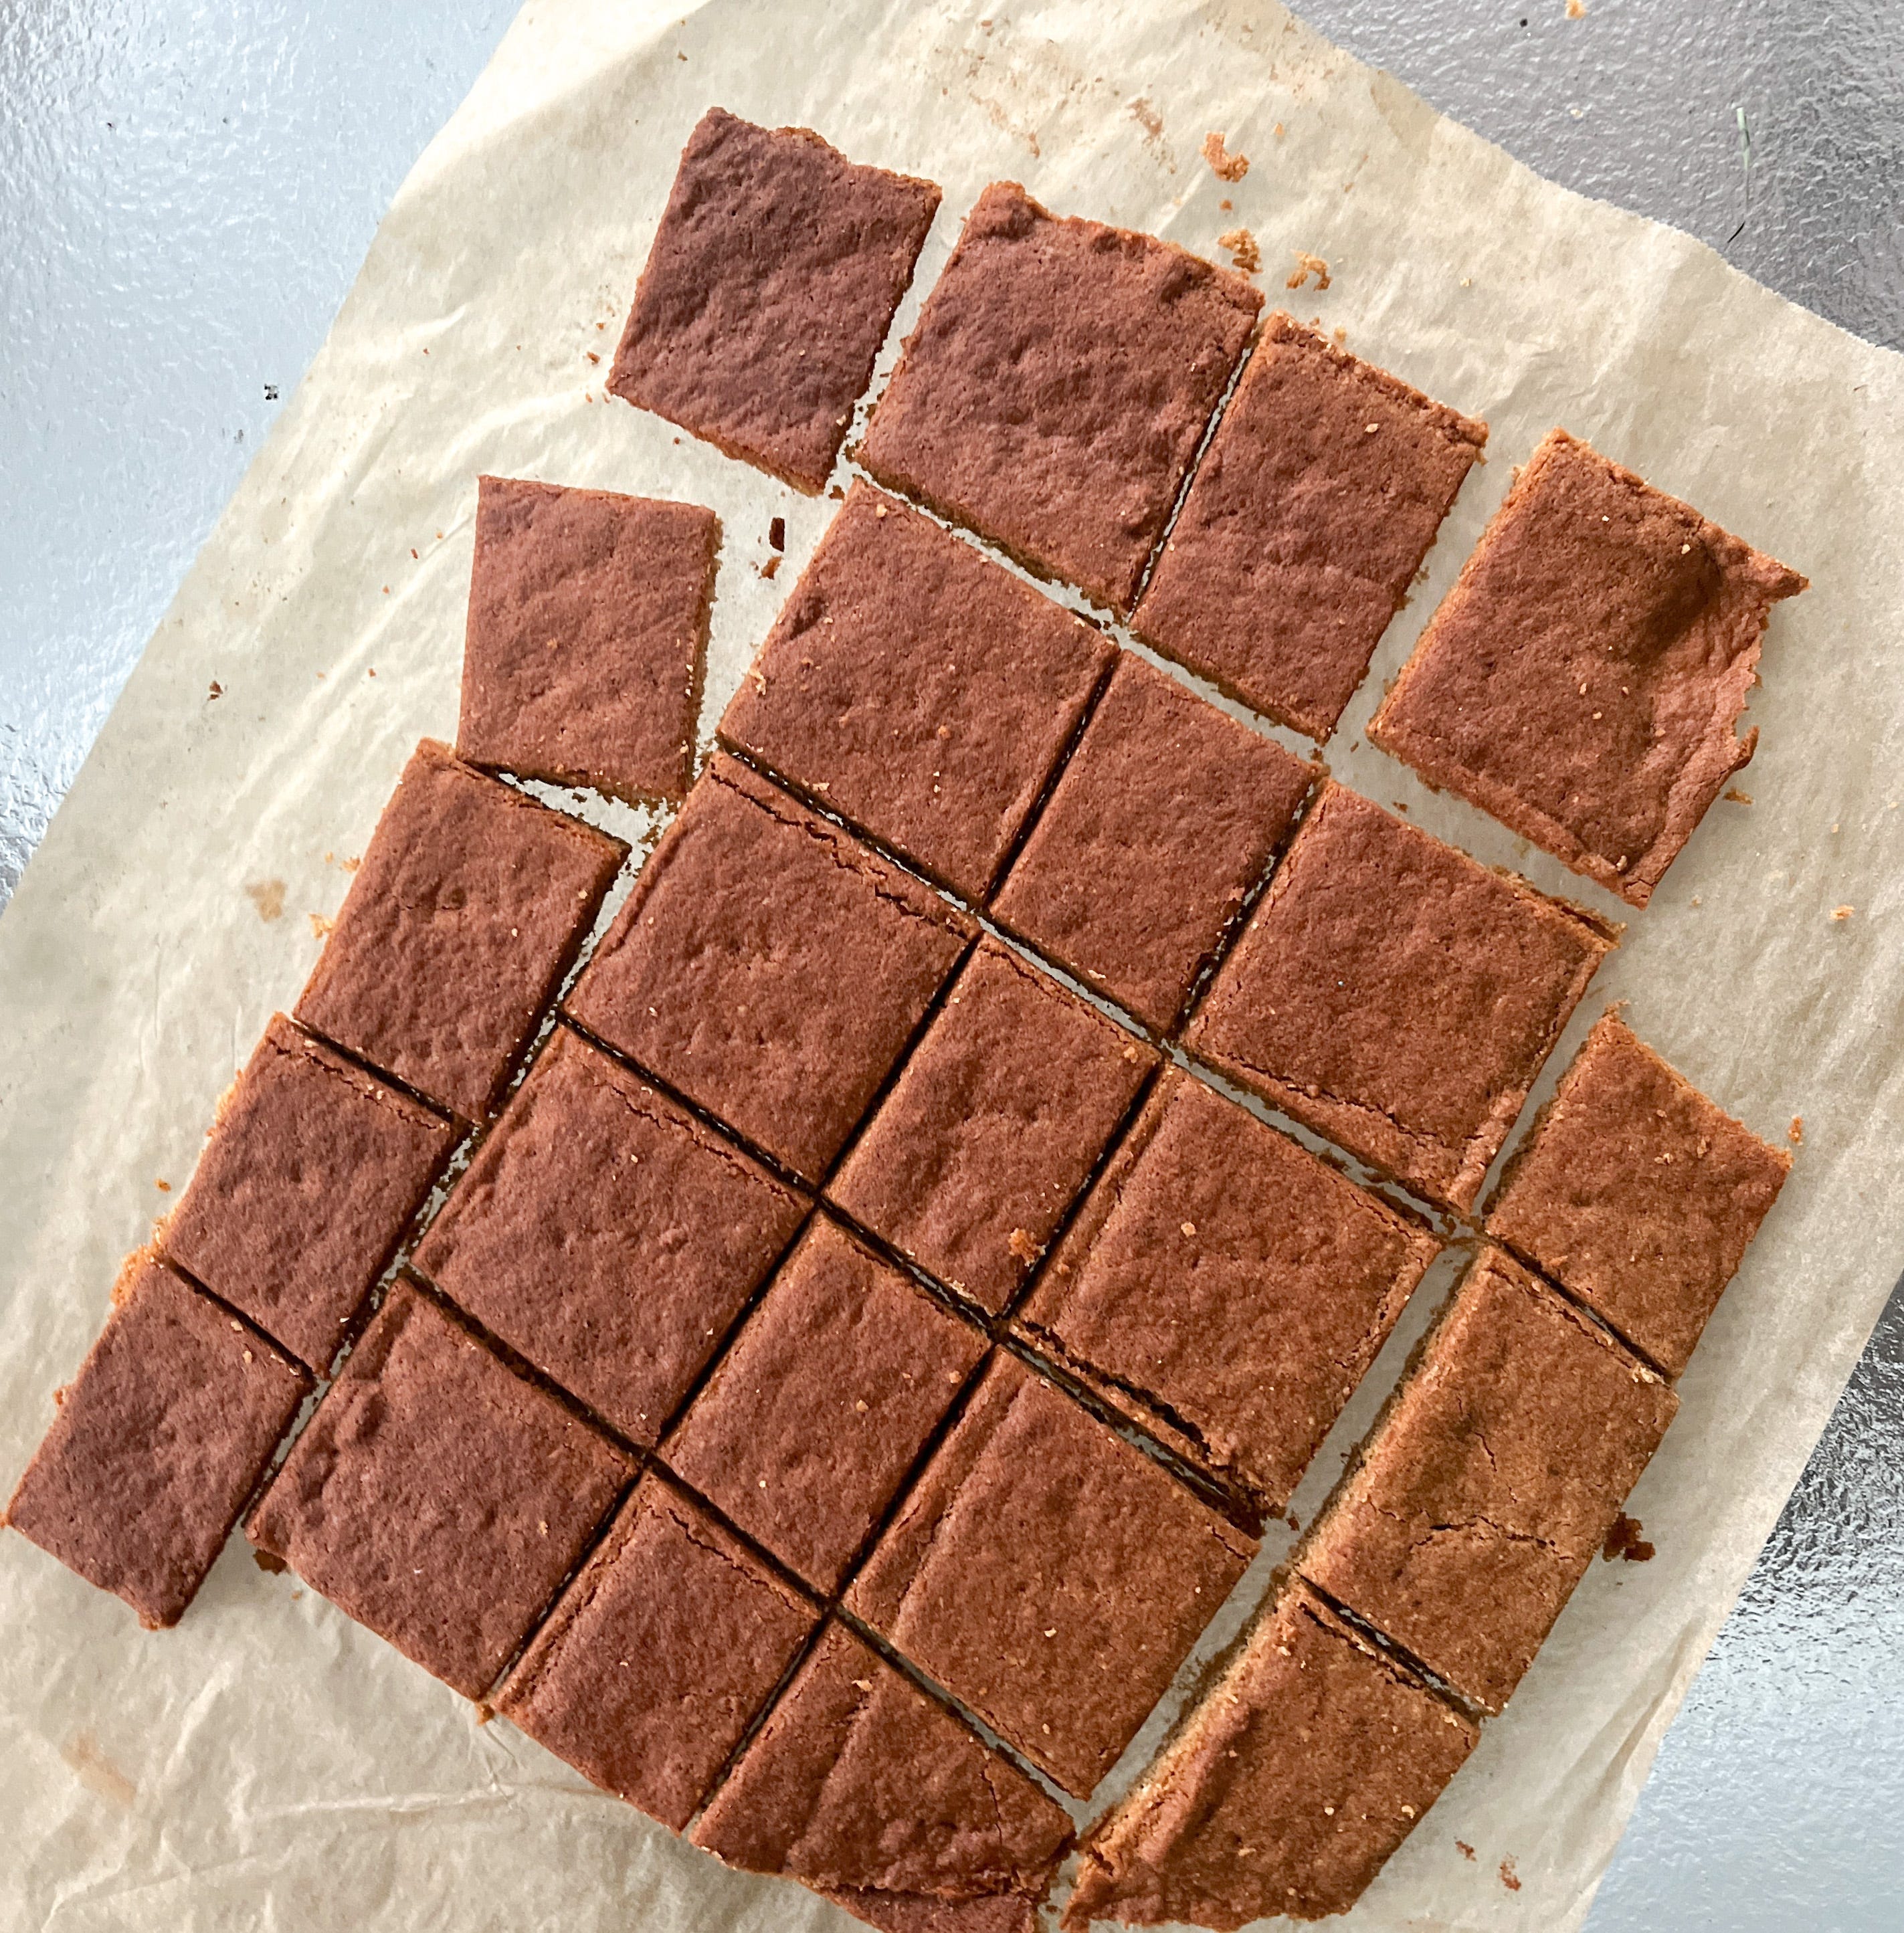
Once flat, use a pizza cutter or a large knife to create 5cm wide square lined grid.
Place the biscuits in the oven and bake for 15 minutes. Then, reduce the heat to 90 degrees, and bake for a further hour.
Remove the tray from the oven and allow it to rest at room temperature on the counter for 20-30 minutes. This will keep them firm.
To assemble the S’mores, place a toasted marshmallow with a slice of dark chocolate between two Graham cracker biscuits. Have one, till you want more, then call out S’more!
Thank you for reading Wholefoods Made Easy this week. If you have enjoyed this post, please like, comment or share with a like-minded friend. I am grateful for your support. Have a great week! Kindly, Arabella