How to Make a Probiotic Ginger Beer
Four easy ingredients + natural fermentation = a swashbuckling probiotic Ginger Beer recipe.
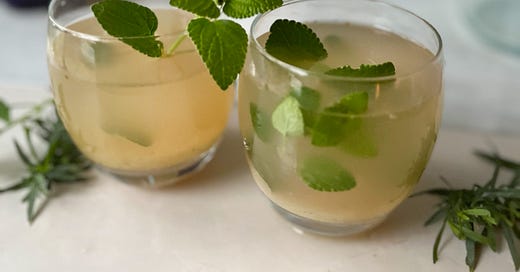
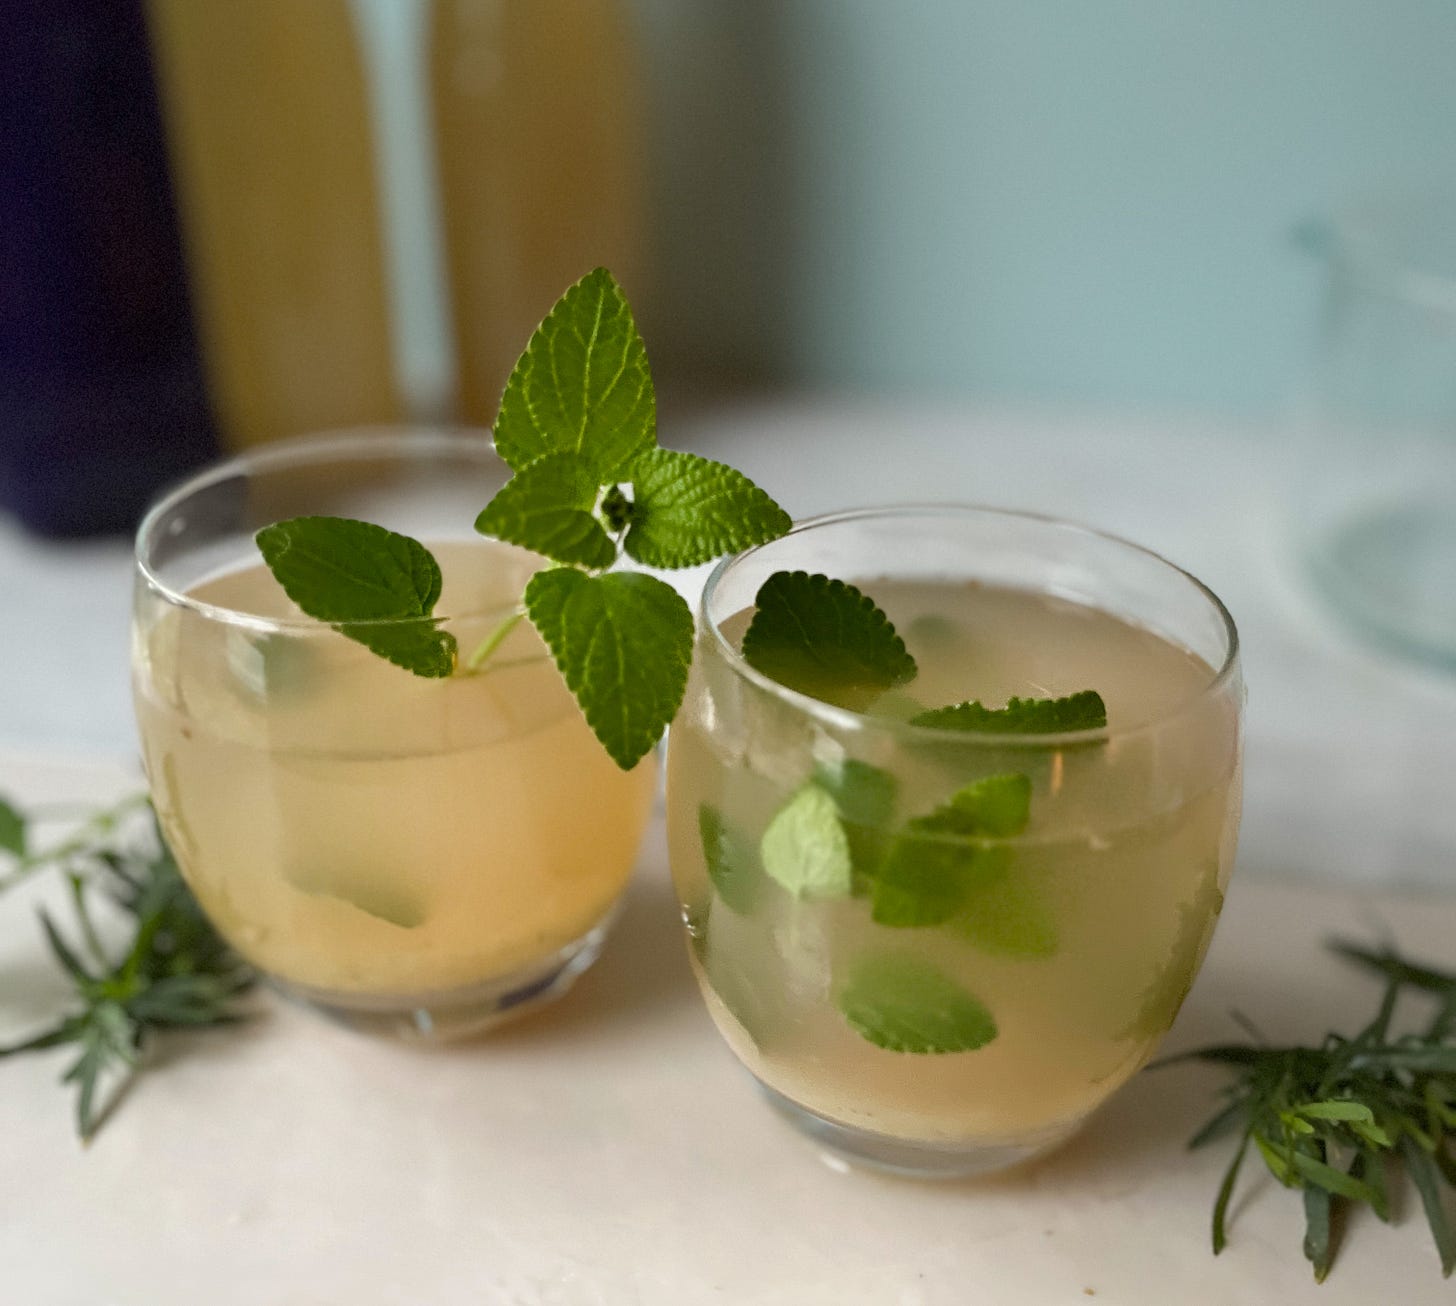
Pictured: Freshly brewed ginger beer garnished with medicinal sage.
It’s become a little chilly in our neck of the woods, and the warm, medicinal spice of ginger has been brewing in our kitchen. We started the ginger beer fermentation process roughly ten days ago, and our bottles are slowly beginning to jiggle and bounce on our benchtop. If you listen carefully, with your fermentation ears pricked, you might catch a quiet whistling emanating from the far corner of our kitchen bench.
New Beers vs Old Fermentation methods.
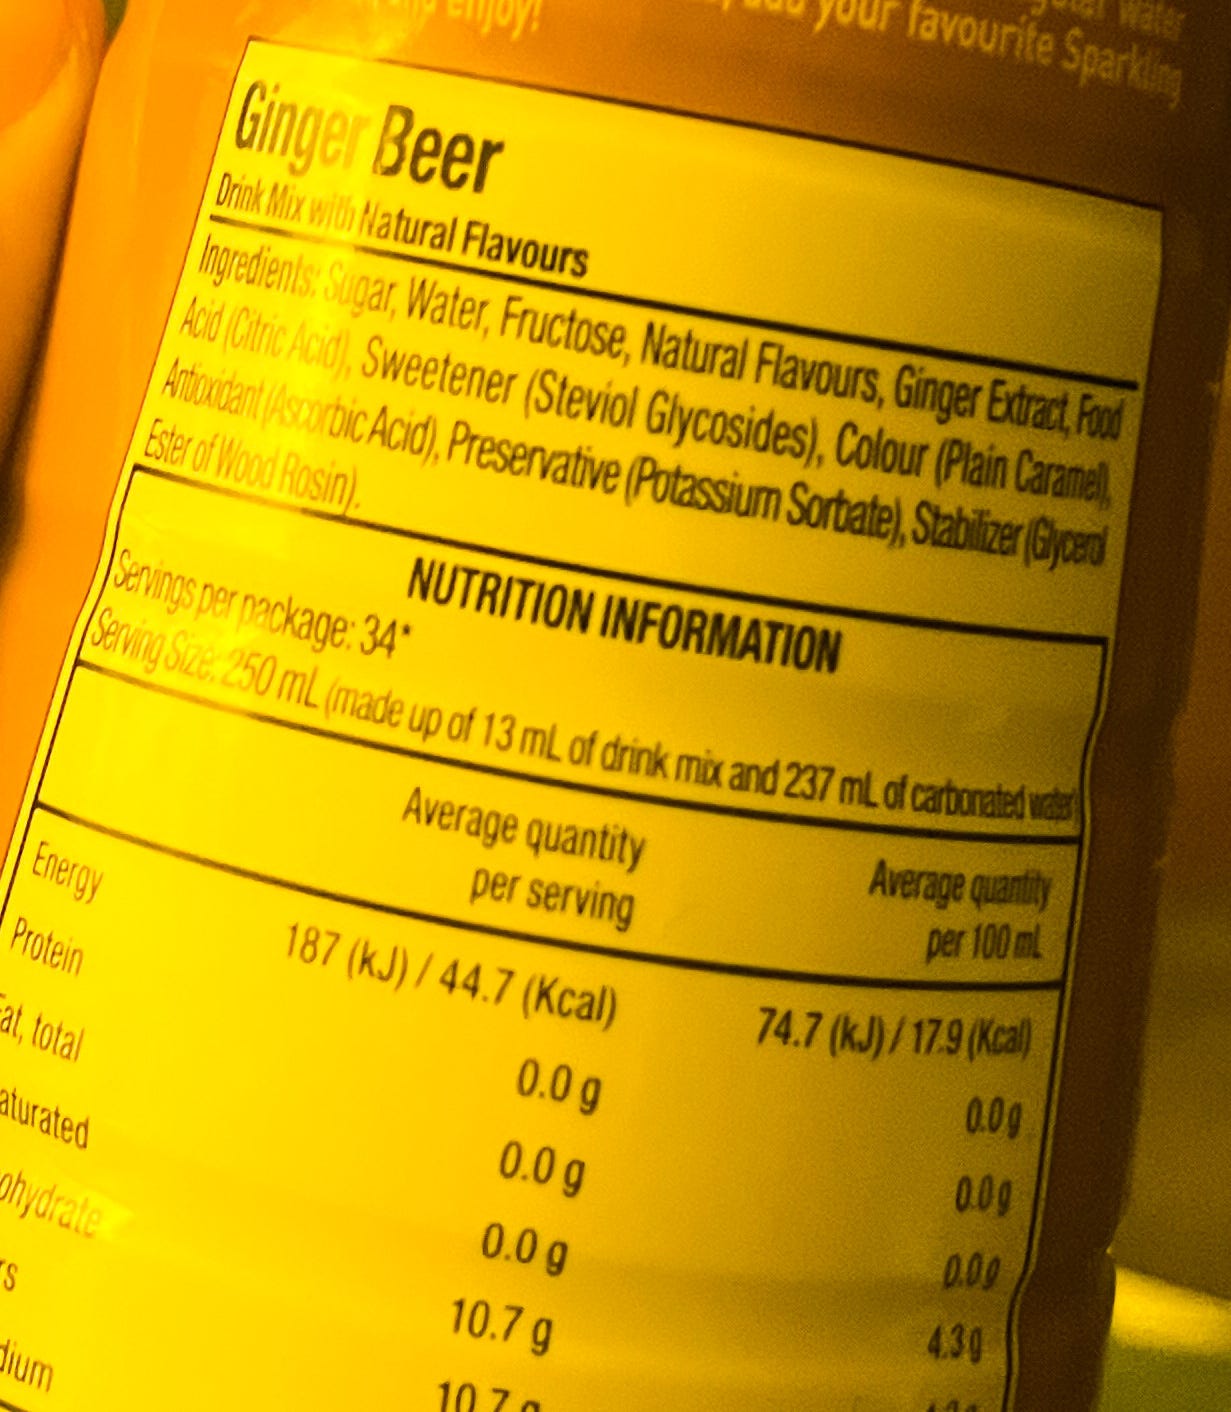
Ginger Beer is easy to find at most supermarkets and food stores. Most commercial brews are made with a base of sugar, fructose, potassium sorbate and ginger extract, and then carbonated with gas. While this combination might make commercial sense, it lacks the probiotic qualities of the fermentation process and natural health benefits of freshly source ginger. Making it at home is surprisingly straightforward. And with only a handful of ingredients from your pantry, it’s not difficult to give it a try.
Traditional ginger beer brews are made with a combination of fresh ginger root, sugar and lemon juice. Together with the natural fermentation process, this trio creates a hospitable environment for the growth of beneficial, probiotic bacteria. During fermentation time, bacteria multiply and release gas (natural carbonation) which makes a fizzy, naturally-carbonated brew.
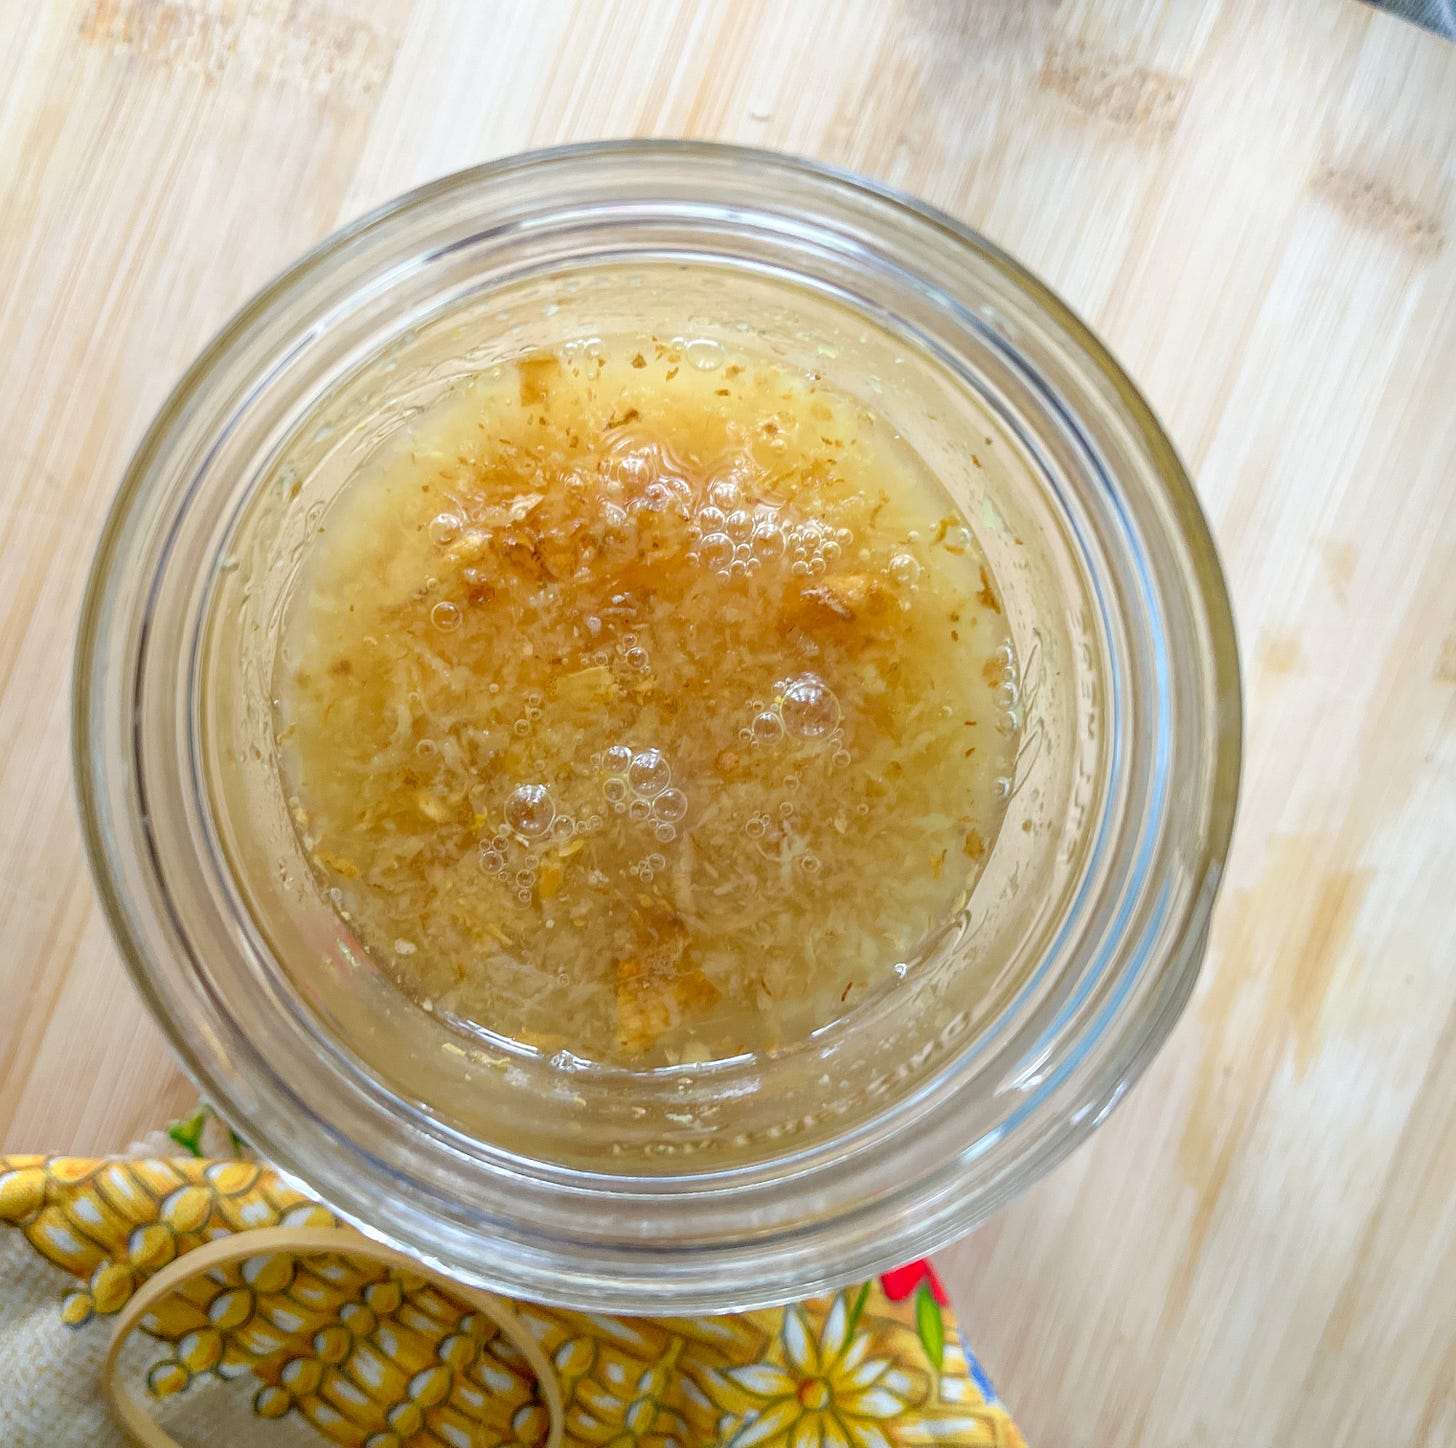
Pictured: A ginger bug made with natural fermentation.
The health benefits associated with ginger are numerous, as it’s long been prized for its unique antibacterial, antifungal and immune-stimulating qualities. The phenolic compounds, such as gingerol, have been shown to improve gastrointestinal motility and relieve symptoms of poor digestion, nausea and morning sickness.
Here are some tips before you get started-
Fermentation is a natural process determined by several key factors; the natural bacteria present in the raw ingredients, the sugar content, and environmental conditions (air quality + temperature). For instance, if your kitchen is warm + humid, your brew will ferment quickly, but if conditions are cool and frosty, it will take a little longer.
Health-promoting bacteria are part of our natural environment, hence try sourcing organic or spray-free ginger root. The naturally-occuring bacteria present on the skin is what will kick start the fermentation process. If it has been sprayed or placed in food storage for a long period of time, the bacteria will not be as active and there may be traces of pesticides and anti-bacterial products on the skin which will hinder the fermentation process.
And one more thing-
I love sharing recipes from my kitchen, and hope that you enjoy them too. If you like what you see, I’d be grateful if you could like, comment or share with a friend. Your feedback is what keeps this publication in motion, and I’m grateful for your help + support.
Recipe: Probiotic Ginger Beer
What You Will Need:
For the Ginger Bug -
Raw Cane Sugar
Fresh Ginger Root
Filtered Water
For the Brew -
1/3 cup lemon juice
2-3 inches fresh ginger root (roughly 30-40 grams). You can add more if you like for a stronger ginger kick
1 1/2 cups raw cane sugar
Filtered Water
Optional: 2 tablespoons whey (see note)
Start by preparing the Ginger Bug:
Your ginger bug is the ‘starter culture’ for your brew, and needs to be prepared over several days to kickstart the fermentation process.
It’s really important that you feed it regularly (every 24 hours is a must) and stir it as often as you can. The bug is best stored in a warm place, out of direct sunlight. I usually keep mine on the kitchen benchtop, as I’m less likely to forget about it!
What you will need:
Fresh ginger root + raw cane sugar + filtered water.
Day 1:
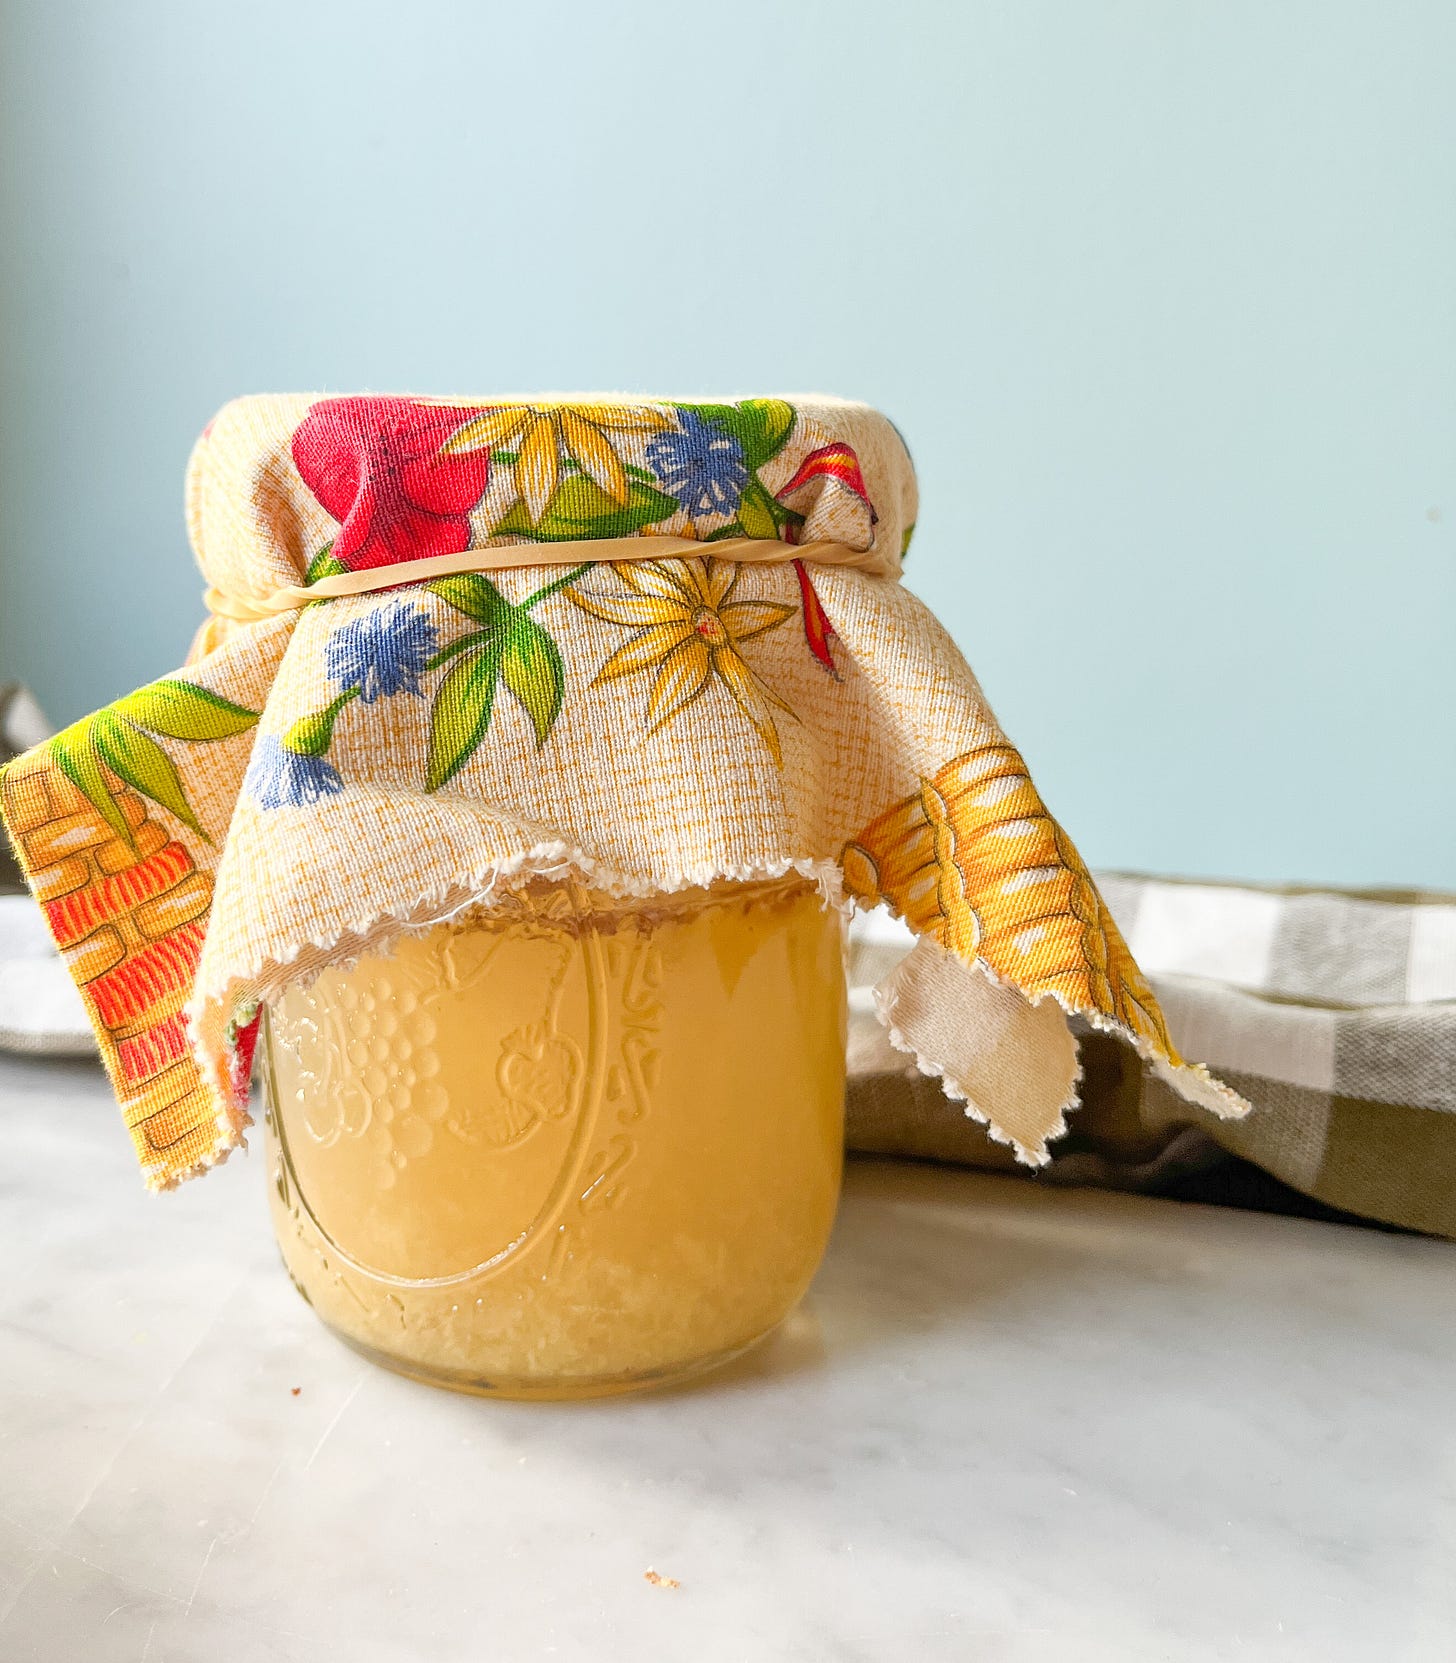
In a large glass jar, combine 1 cup of filtered water with 2 teaspoons finely grated ginger root + 2 teaspoons cane sugar. Stir well, then cover with cloth (see image) and store out of direct sunlight.
Day 2:
Add an additional 2 teaspoons sugar + 2 teaspoons finely grated ginger to your jar and stir well. Cover and set aside. You may notice some small bubbles brewing.
Day 3:
Repeat as per day 2. You may notice some small bubbles brewing. If the bubbles become larger, your ginger bug is ready for brewing.
Day 4:
Same as above.
Make Your Brew:
In a large cooking pot or stainless steel soup pot, combine 1 litre of water with 1 1/2 cups raw cane sugar. Bring to a gentle simmer, and stir regularly until sugar is dissolved.
While the mixture is still simmering, add in 2 inches (30-40 grams) finely grated ginger root. Turn off the heat. Cover with a lid and let it rest for 30 minutes. Remove the lid, and leave it to cool for an additional 15 minutes or until it feels luke warm.
Place a sieve atop a large bowl, and pour in the ginger liquid, draining the liquids from the solids. Discard the solids into the sieve, and keep the liquid in the bowl. To this liquid, add 1/3 cup lemon juice, 2 tablespoons whey (optional) and the pre-prepared ginger bug.
Add any additional water that is required so that the total volume is 3 litres. Stir well with a wooden spoon.
Pour mixture into plastic bottles (you can use glass, but you will need to check or burp them every few days). Seal the bottles tightly and set them aside.
The brew will take 10-14 days to be at peak fermentation. If you have used whey culture in the recipe, they will ferment slightly quicker, so keep a close eye on your brew!
Be sure to store them somewhere closely in sight - the kitchen benchtop is ideal. If bottles are left for too long in storage, they can potentially explode or break the glass bottles that they are stored in (eeeeek!) For this reason, I recommend bottling them in plastic bottles and keeping them in easy view. If you choose to store in glass, you can check and ‘burp’ them regularly. The loss of carbonation won’t affect the probiotic or nutrient quality of the brew, and you’ll find it will still have a sparkly, effervescent flavour, even if it’s burped regularly.
To serve - I like to flavour my brews with medicinal herbs, such as fresh sage leaves, mint or tarragon (see below pic). If you are not already growing some, take a look at my recent posts on medicinal sage and wild medicinal weeds that you can grow in your garden.
If you have enjoyed this recipe, please consider sharing with a friend, liking or commenting on this post. Your feedback is what keeps this publication in motion, and I am grateful for your support.
Have a great weekend!
Kindly,
Arabella

