


In a former life, I was a fermentation enthusiast. I kept a German-style 12 litre crock in our pantry and regularly brewed up batches of kraut, kvass and ginger beer. Our cupboards and bench spaces were overloaded with brews that bubbled and sang (yes. ginger beer does that) and there wasn’t a meal that went by that didn’t include a morsel of fizzing cabbage, beets or spicy-tasting watermelon (wooee).
Yet, as the years went by and our wildlings grew more wild, I realised that our kitchen space needed to be streamlined and simplified. Overnight, I switched our 12L crock for a series of fit-in-the-fridge, glass storage jars (sourced directly from our recycling bin) and never looked back ..

DIY kraut-in-a-jar
What I soon learnt is that - fermenting directly into wide-mouth glass jars simplifies the fermentation process from a 2-step, large-batch project, to a simple, 1-step, quick-as-a-wink jar-filling exercise.
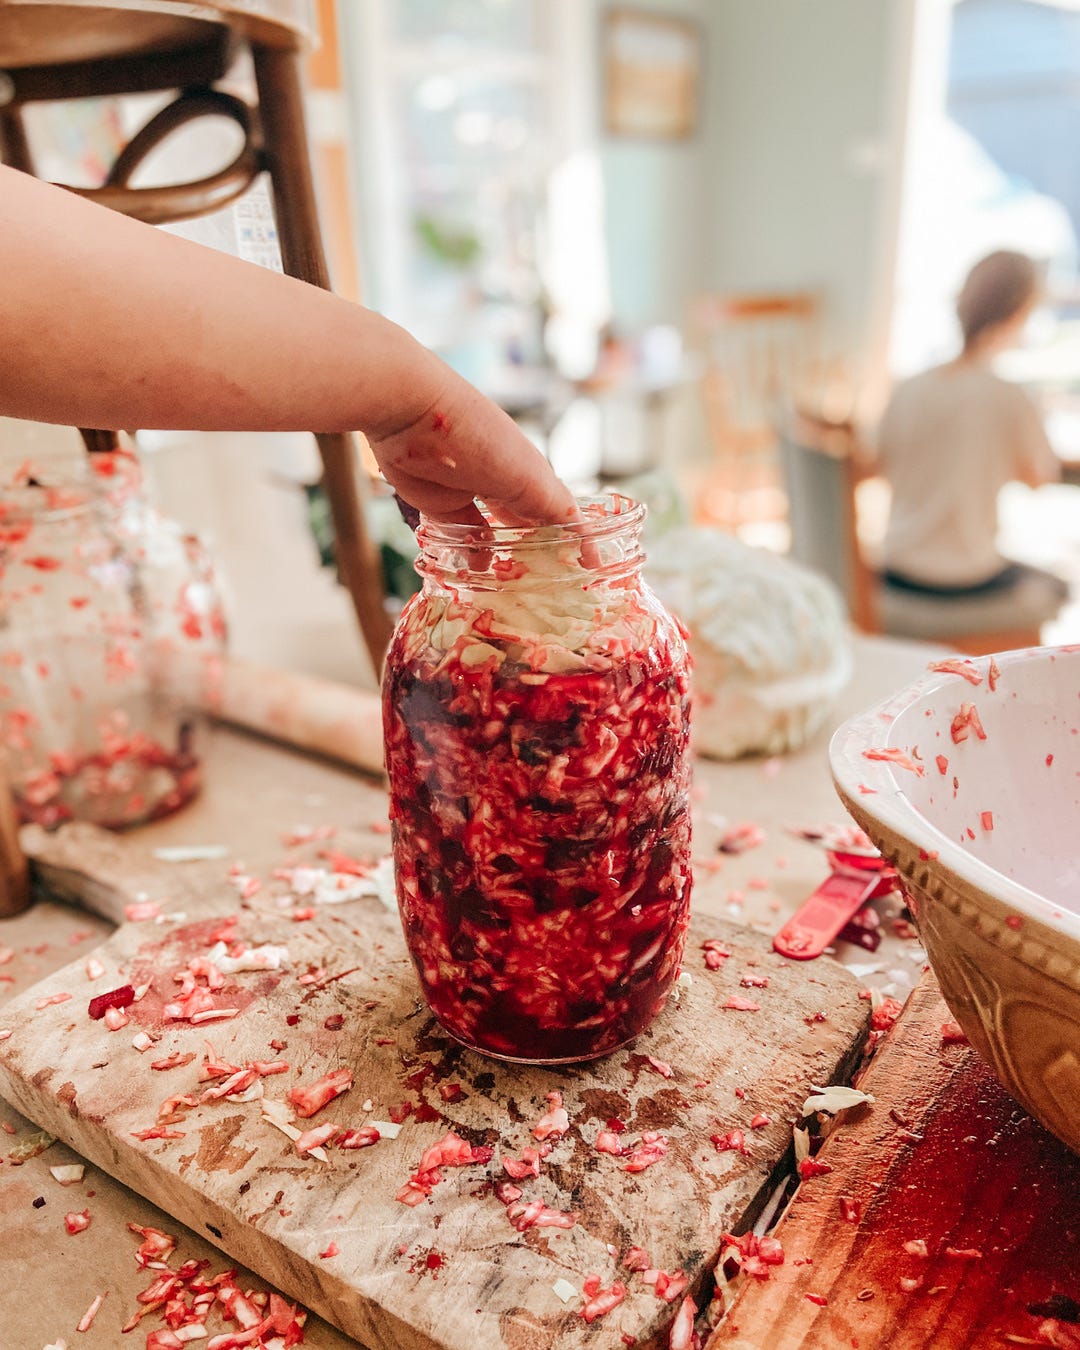
If you take a look at the video at the beginning of this post, you can see how easy it is to ferment directly into a wide-mouthed glass jar. There’s also a detailed recipe at the bottom of this post.
Tips -
A weighted bottle of water on the interior of the jar helps to keep the mixture in an anaerobic environment, so that it can release carbon dioxide as it ferments, but still remain airtight.
You can use a sauerkraut pounder to compress the mixture into the jar (as seen in the video) or try a pestle or large wooden spoon. If all else fails, just bunch your hand into a fist and push it down into the jar (it’s that easy).
I’m still a believer.
Our cooking process might have simplified, but we still enjoy sauerkraut and fermented foods with most meals.
Why? Home-made fermented foods such as sauerkraut are one of the only food groups that provide a healthy source of probiotics, enzymes and prebiotic fibres. These foods assist digestion and promote the growth of healthy gut microflora.
They are also remarkably cheap to prepare - a standard 1 litre jar of kraut is roughly $5.00 - $7.00 worth of cabbage, salt and herbs. It has a long shelf life, and is quick and easy to serve with any meal.
I don’t get everything right at mealtimes (my kids still squirm at plenty of the vegetables we serve.. ) but sauerkraut is one simple dish that we can include that is nutrient-dense and easy to prepare.
Home fermentation has become increasingly popular during the last few years with the release of various cookbooks and specially-styled fermentation equipment.
Thankfully, you don’t need a lot to make your own sauerkraut (or any fermented vegetable) at home. Really, just source some wide-mouth jars, a large bowl and a sharp knife and you will have everything that you need.
Kraut-in-a-jar recipe.
Here’s my quick-as-a-wink kraut-in-a-jar recipe. There’s a video at the beginning of this post, but here is the recipe in full -
You will need -
1 large mixing bowl (as big as possible)
1 large, sharp cutting knife
1-2 wide mouth glass jars (totally 1.5Litres total capacity)
a glass bottle that is able to fit its base into the glass jars (this will work as a weight to keep the sauerkraut mixture down in the jar).
Ingredients -
1 1/2 tablespoons grey-coloured celtic sea salt
1 teaspoon fennel seeds
1 teaspoon caraway seeds
750g cabbage
250g carrots, beets, apple or additional cabbage.
2-3 large cabbage leaves that you can use as an interior lid within each jar.
Method -
Finely slice (or grate) the vegetables as thinly as possible. Place all ingredients (excluding the extra cabbage leaves) in a large mixing bowl. Use your hands to mix and squeeze the mixture so that it is well-combined and the juices are released.
Leave to rest for 5-10 mins and then repeat the process again. If you wish, you can use a sauerkraut pounder, pestle, or wooden spoon to mash it a bit. Either way, the cabbage should soften a little and some juice should be released.
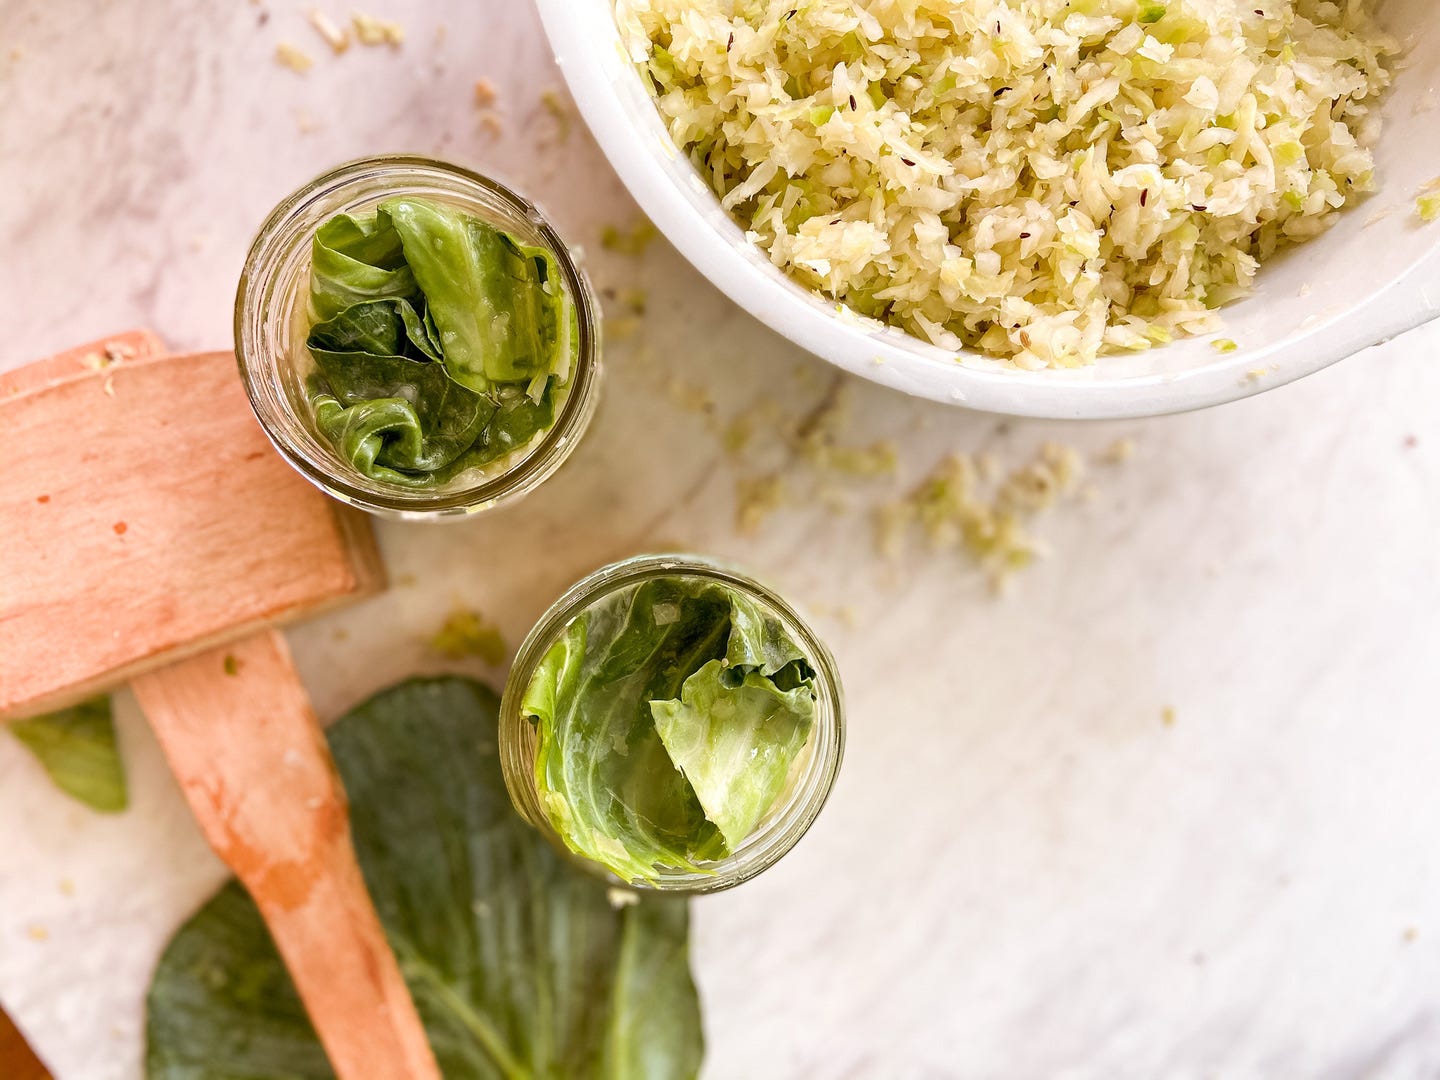
Use your hands to pack the kraut into glass jars. Fill each jar no more than 4/5 full. Use your hands or the kraut pounder to push it deep into the jar with minimal air bubbles.
Place the cabbage leaves on top, then weigh down the mixture with a glass bottle filled with water. This will keep the mixture well-compacted with minimal air bubbles. The goal of fermentation is to keep the environment anaerobic (without air) so the cabbage leaves and weight will help with this.
Leave jars at room temperature for 4-5 days (4 days for warm climates, 5-7 days for colder climates) and then transfer to your fridge or root cellar. It will be ready to eat in 2 weeks time.